
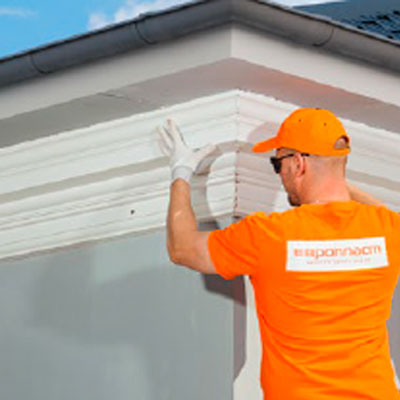
CORNICE FOR INDIRECT LIGHTING INSTALLATION
-
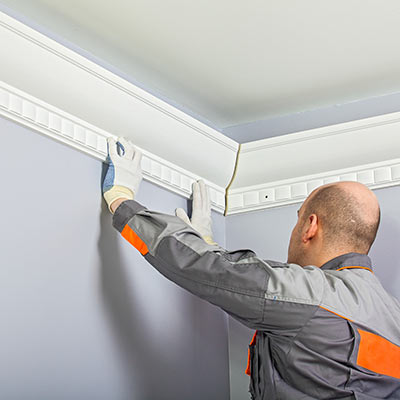
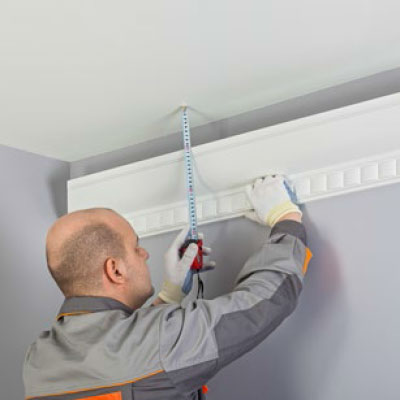
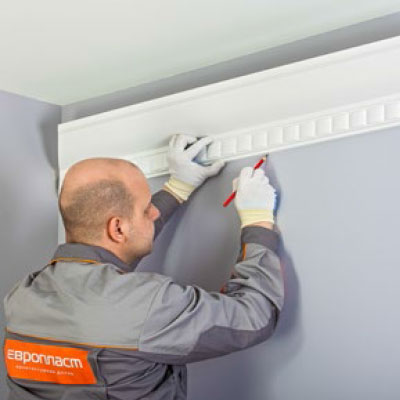
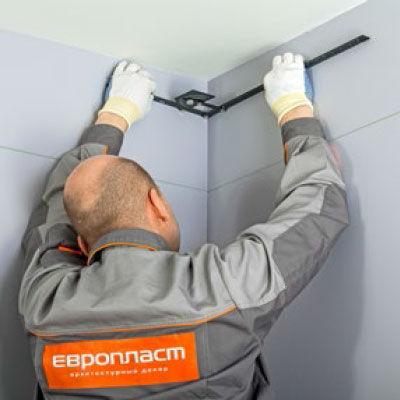
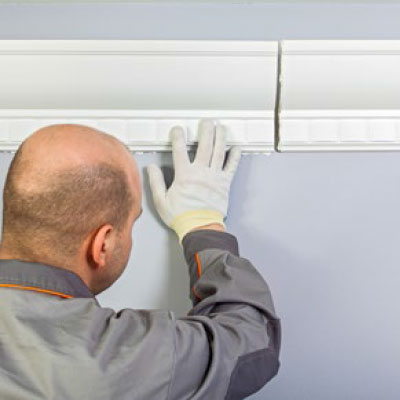
Firmly press the product to the wall
and the ceiling, make a mark
on the bottom edge of the product.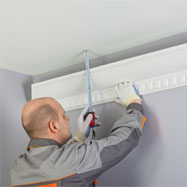
-
Make a mark on the bottom edge of the product.

-
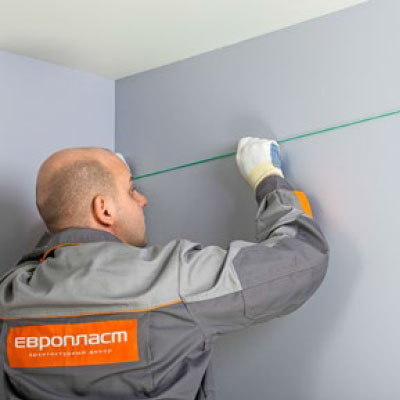
Use a chalkline to connect the marks
at the perimeter of the room.
-
Use a protractor to measure
the angles of the room.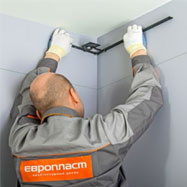
-
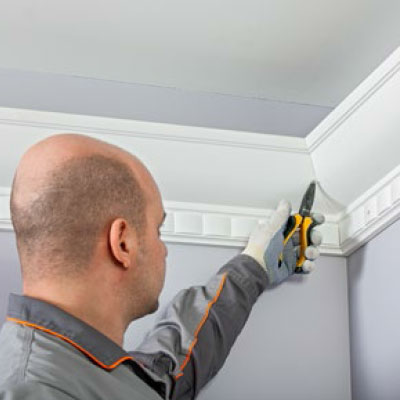
Using a mitre saw, cut out the element
to the appropriate angle.
In a room with 90° angles a mitre box
or a handsaw can be used
-
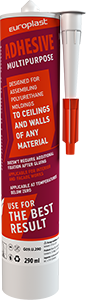
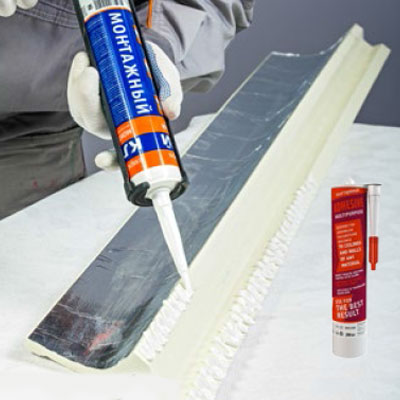
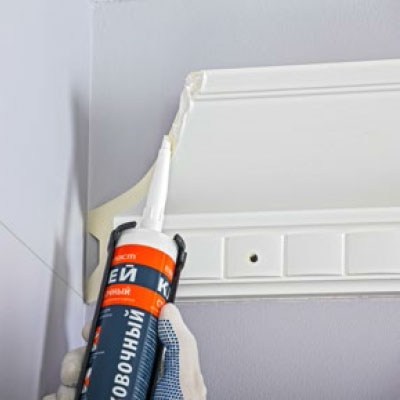
Apply evenly on the mounting surface
Multipurpose Adhesive along the whole length.
The applied adhesive
should be 3-5 mm thick.
-
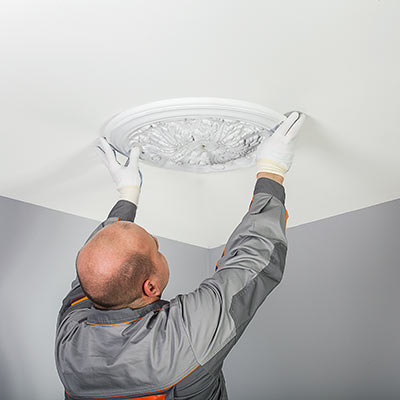
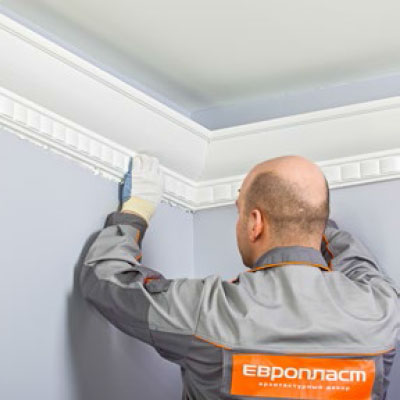
Attach the item to the place of installation,
using as benchmarks the previously
made marks on the wall.
Push the entire length of the item
so the adhesive exudes from the entire plane.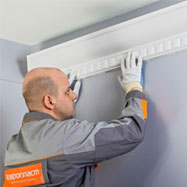
-
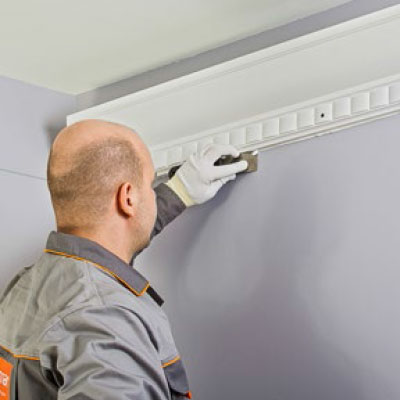
Using screw gun, fix the product
by self-tapping screws (Step = 600 mm).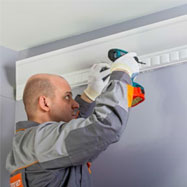
-
Remove the excess adhesive
with a spatula immediately
after fixation by self-tapping screw.
-
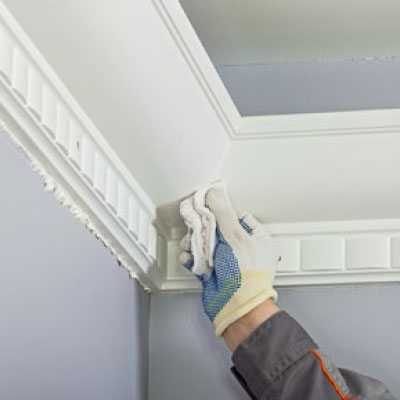
Wipe the area of the joint
with a cloth wet with Acetone
if using Multipurpose Adhesive.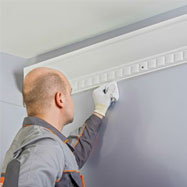
-
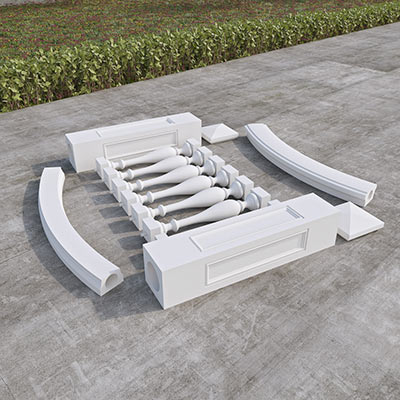
Apply Evroplast for Bonding joints
onto the bottom side of the balusters.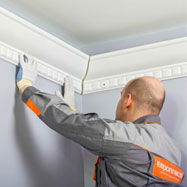
-
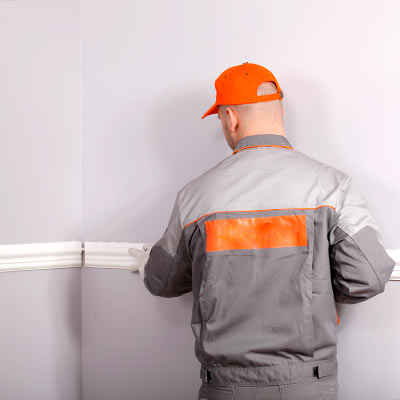
Mounting of the adjoining cornice:
remove the dust and other impurities
from the surface of the abutting cornices
with a wet cloth.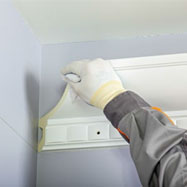
-
Bonding of the joints:
apply Adhesive for bonding joints
on the side surface
of the already mounted cornice.
-
Apply Multipurpose or Assembly Adhesive
to the surfaces adjoining of the next cornice.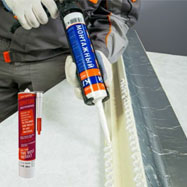
-
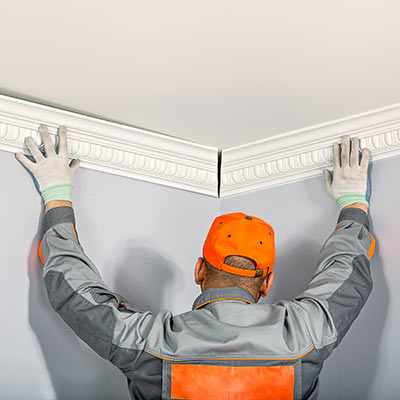
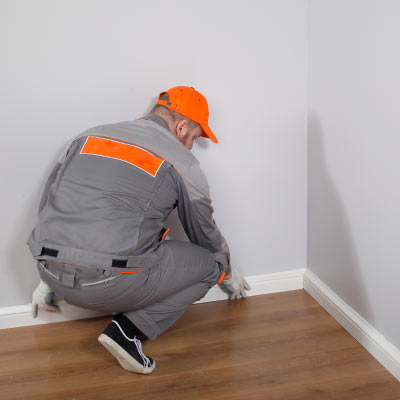
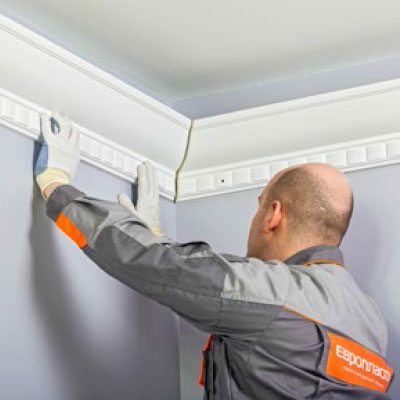
Press the cornice to the wall
and ceiling until the adhesive shows
on the whole surface of the joint.
By moving the product along the wall
press to the next cornice
till Adhesive appears at the joint.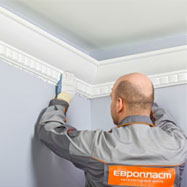
-
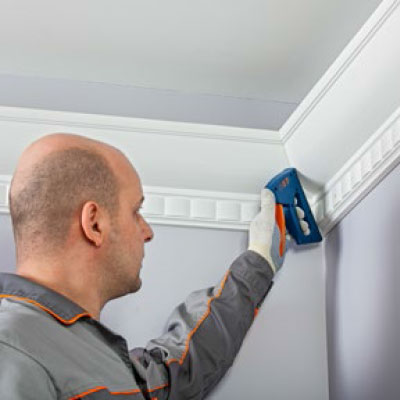
Fix the joint area using a construction staple gun.

-
Remove the excess of adhesive
with a spatula immediately after bonding.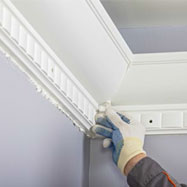
-
Wipe the area of the joint
with a wet cloth. Wet the cloth
with water if Assembly Adhesive is used
and with Acetone in case of using
Multipurpose Adhesive or Adhesive
for bonding joints.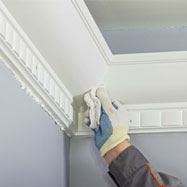
-
Continue the process of installation
of the next cornice.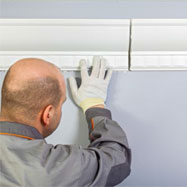
-
Wait for 3 hours and remove clamps
from area of the joint.
-
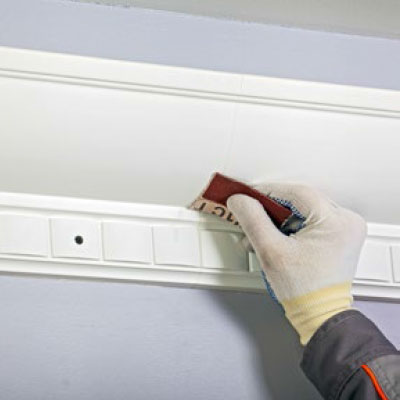
Treat area of the joint
with Fine grain abrasive paper
until you get smooth surface.
-
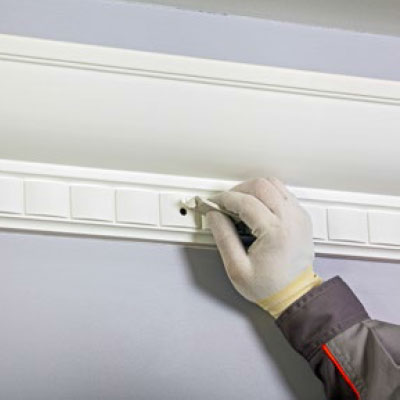
Fill the treated area and places
where you used self-tapping screws
with fine-grained, water-soluble filler
for interior works. Wait for 60 minutes
and repeat Step #21 if needed,
until you get a flat surface.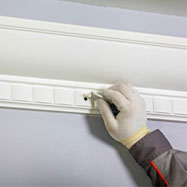
-
Fill the spaces in the joint area between
the cornice and the walls/ ceiling,
where the adhesive has not shown
on a surface.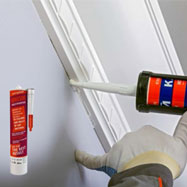
-
Wipe the area of the joint
with a wet cloth. Wet the cloth
with water if Assembly Adhesive is used
and with Acetone in case of using
Multipurpose Adhesive or Adhesive
for bonding joints.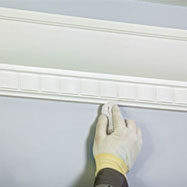
-
Paint the cornice following the instructions
of paint manufacturer, starting
with the corners of the elements (room).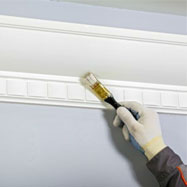


-
View:
- 1 - 8
- 9 - 16
- 17 - 25
- All